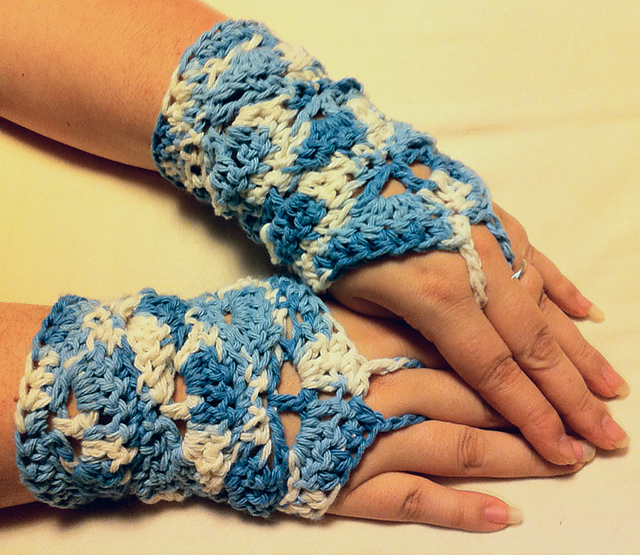
I joined a gift exchange through Craftaholics Anonymous this year. After a number of questions with my exchange partner, I decided a pair of blue cotton fingerless gloves were the perfect gift (being a crafter's group, they have to be handmade).
So of course, I hit Ravelry, and found this adorable pattern for mildly lacy crochet wristwarmers. Despite a few false starts to find the right size (I had to go up to a J/6mm hook to make them large enough), and even only working a few minutes at a time, I had the pair of adorable wristers finished in a little over a day!
I loved the pattern so much, I decided to make a pair for my sister for Christmas. My mom got this lovely yarn for me; cotton, natural colored with speckles of peach, moss and brown. It took less than one 95 yard skein!
I may have to make a few more pairs for people! An excellent addition to the Goody Bags that will be my Christmas gift for most folks this year. And the pattern has a non-lacy masculine counterpart, too!
Wednesday, November 28, 2012
Monday, November 26, 2012
Cyber Monday Sale on Zazzle
It's here... Cyber Monday. Sales galore! And Zazzle is no exception. Just use the code 60ZCYBERSALE at checkout to cash in on these AMAZING deals!
60% Off Wrapped Canvases, Posters & Photo Prints
50% Off Cards, Invites, Postcards, Photocards & Ornaments
30% Off Mugs & Calendars
20% Off T-Shirts, Messenger Bags, Laptop Bags & Tote Bags
$10 Off Cases & Sleeves
And, if what you want isn't listed there...
15% Off Everything Else!
In addition, I have a few $5 off coupons for orders of $25 or more, which I would be happy to give out to those wanting to order from my shop.
View more at my store on Zazzle.
Tuesday, November 20, 2012
Today's Best Award
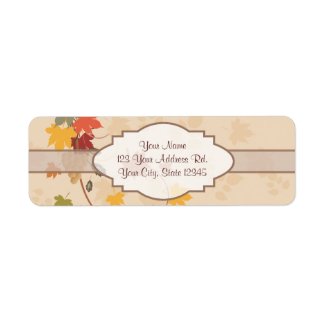
Although I am not as enamored of the Today's Best Award on Zazzle as I once was – for one thing, no one but other shopkeepers seem to know they are there, and for another, the designs picked are sometimes questionable at best – I really love this design and think it quite deserving of the award.
As with most of my Zazzle designs, it is, of course, available on dozens and dozens of other items as well!
As with most of my Zazzle designs, it is, of course, available on dozens and dozens of other items as well!
Labels:
awards,
customizable,
items,
labels,
my work,
products,
return address labels,
TBA,
zazzle
Friday, November 9, 2012
Zazzle Extended Eight Hour Friday Sale
This week, Zazzle's usual Friday Four Hour Sale has been extended to eight hours! Until 8 pm pacific time tonight (November 9th). And it's a great sale selection, too – 50% Off Mugs, Canvases & Mousepads! Use code MYPHOTOGIFTS at checkout.
See more of my designs available on Zazzle.
See more of my designs available on Zazzle.
Sunday, November 4, 2012
How-To: Easy Inexpensive Gift Plates
There are lots of easy, inexpensive treats available to make as Christmas gifts, like Super Simple No Fail Fudge.
However, that leaves the question of how to package your goodies to give them away; if you have to buy a tin or plate for every gift, this is often the most expensive part of the gift.
Not anymore!
This brilliant idea costs pennies, and allows you to adjust for any gift-giving occasion, all with supplies you probably already have in the house.
1-3 paper plates (you can even get cute ones appropriate to the occasion, or decorate them yourself)
Approx. 2 feet of ribbon
Hole punch or Xacto knife
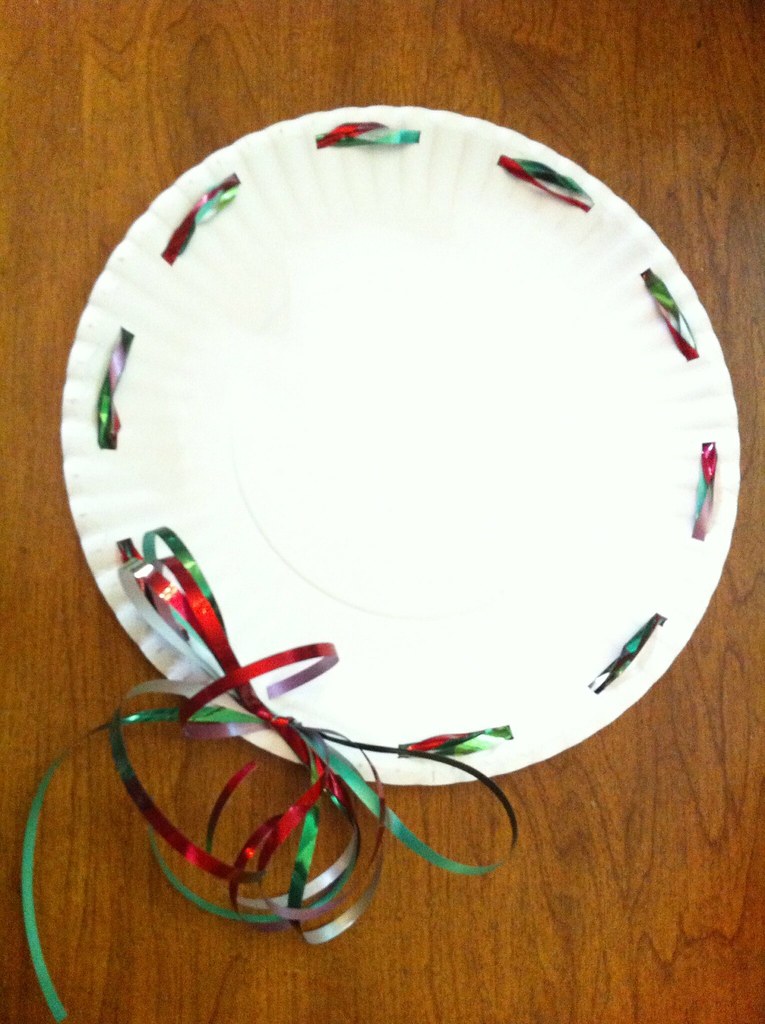
Punch or cut a holes a quarter inch or so from the edge of your plate, about an inch to an inch and a half apart. On the plate I used, I skipped two 'ripples' in between each hole (the last one was on the next ripple to the first, but that was fine as the bow goes there.) If you will be heavily loading the plate, use two or even three together and cut through all of them at the same time so that they line up properly.
String your ribbon through the holes, alternating top and bottom. This will be easier if you pull enough through the first hole to make it all the way around and tie a bow at the end, instead of trying to pull it as you need it.
Tie a pretty bow, cut off excess ribbon, and you're done! If your gift will need to travel, wrap with cellophane and use the same ribbon to tie it shut.
However, that leaves the question of how to package your goodies to give them away; if you have to buy a tin or plate for every gift, this is often the most expensive part of the gift.
Not anymore!
This brilliant idea costs pennies, and allows you to adjust for any gift-giving occasion, all with supplies you probably already have in the house.
What You Will Need
1-3 paper plates (you can even get cute ones appropriate to the occasion, or decorate them yourself)
Approx. 2 feet of ribbon
Hole punch or Xacto knife
How To Assemble
Punch or cut a holes a quarter inch or so from the edge of your plate, about an inch to an inch and a half apart. On the plate I used, I skipped two 'ripples' in between each hole (the last one was on the next ripple to the first, but that was fine as the bow goes there.) If you will be heavily loading the plate, use two or even three together and cut through all of them at the same time so that they line up properly.
String your ribbon through the holes, alternating top and bottom. This will be easier if you pull enough through the first hole to make it all the way around and tie a bow at the end, instead of trying to pull it as you need it.
Tie a pretty bow, cut off excess ribbon, and you're done! If your gift will need to travel, wrap with cellophane and use the same ribbon to tie it shut.
Friday, November 2, 2012
How-To: Upcycled Pillow Boxes
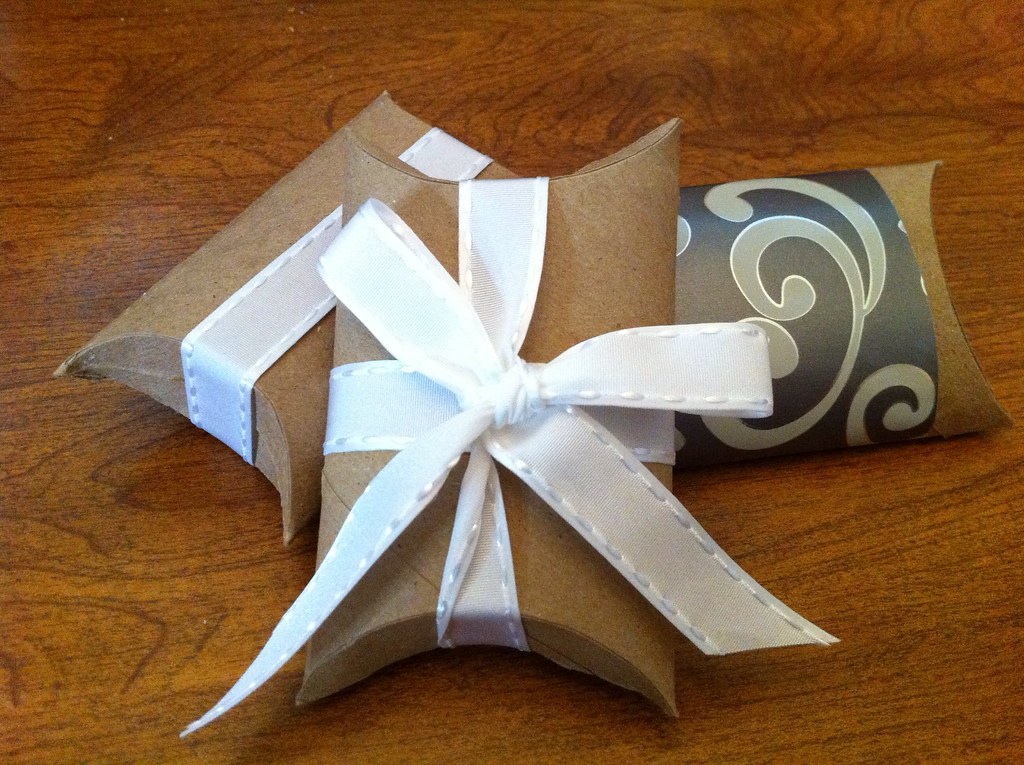
I got the inspiration for these adorable little boxes on, I admit, Pinterest. However, while it said what they were, they included no instructions and it took me a while to figure out exactly how to do it. So, I decided to take the 'figure out' time out of it for future readers.
Here, then, is a step-by-step tutorial to go from – yes – toilet paper rolls, upcycled to adorable pillow boxes for small gifts. You could follow the same basic instructions with paper towel rolls, either for long boxes, or cut into pieces for 'square' boxes, or any size in between.
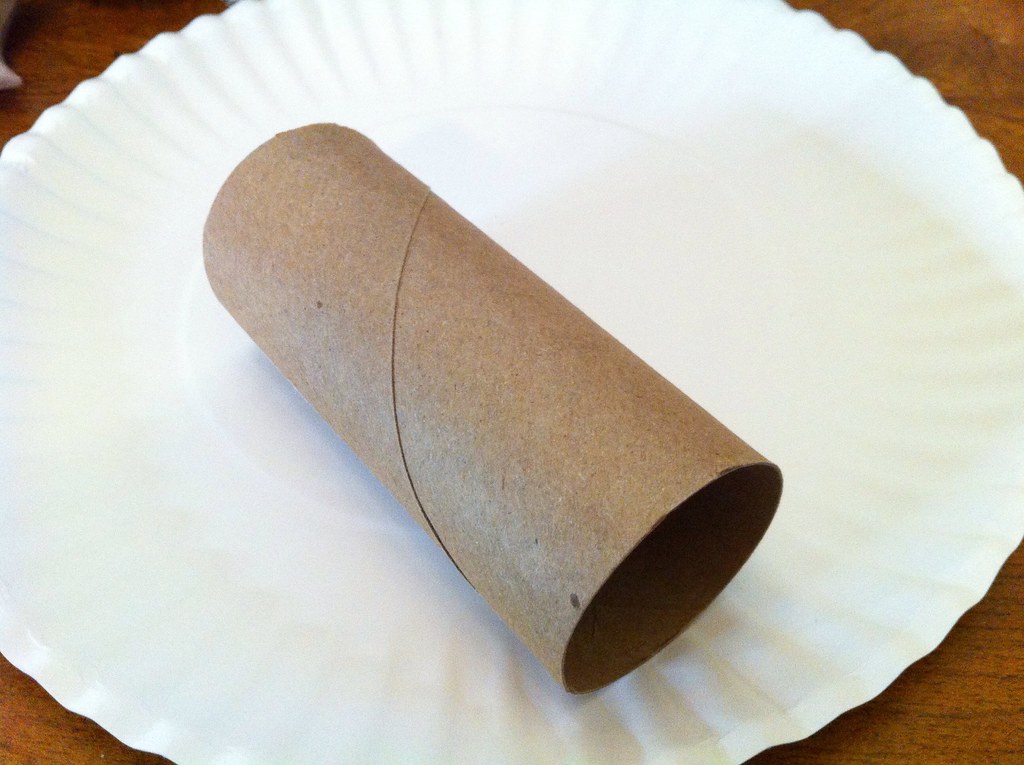
All you absolutely need is this:
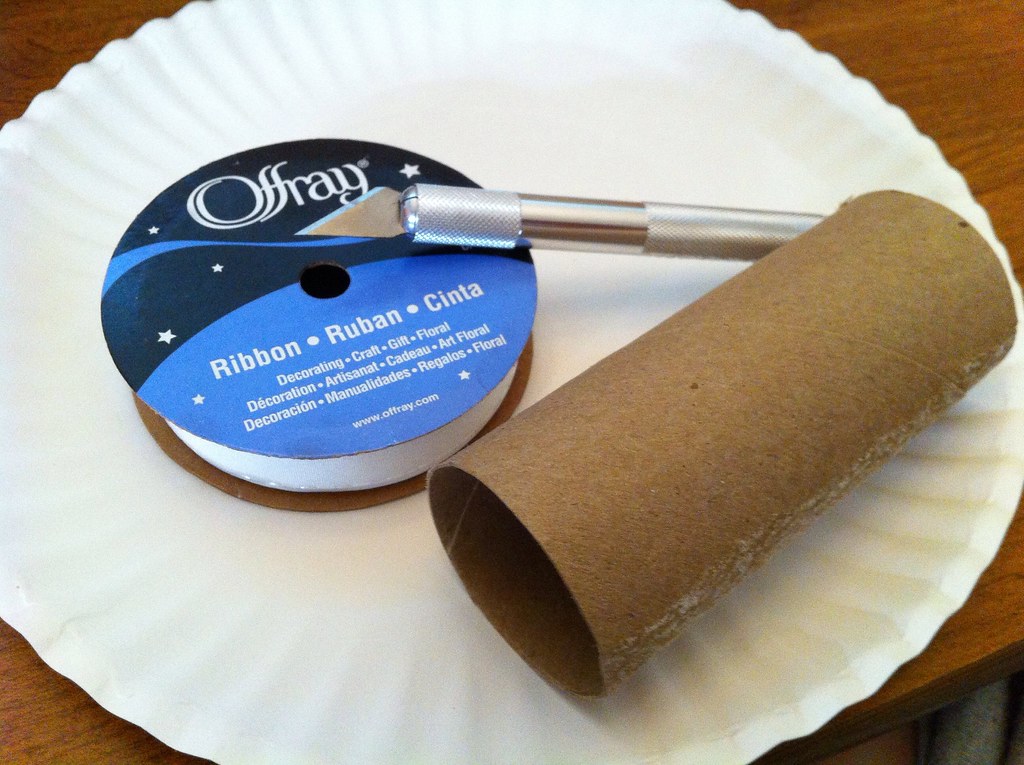
However, I I found it was much easier, and the finished product much neater, to lightly score the tubes with an exacto knife. After much searching around the house for 'the perfect circle', I found that the spool of ribbon I would be using to decorate the box with when it was finished, was the perfect size.
So, gather your materials. Easy.
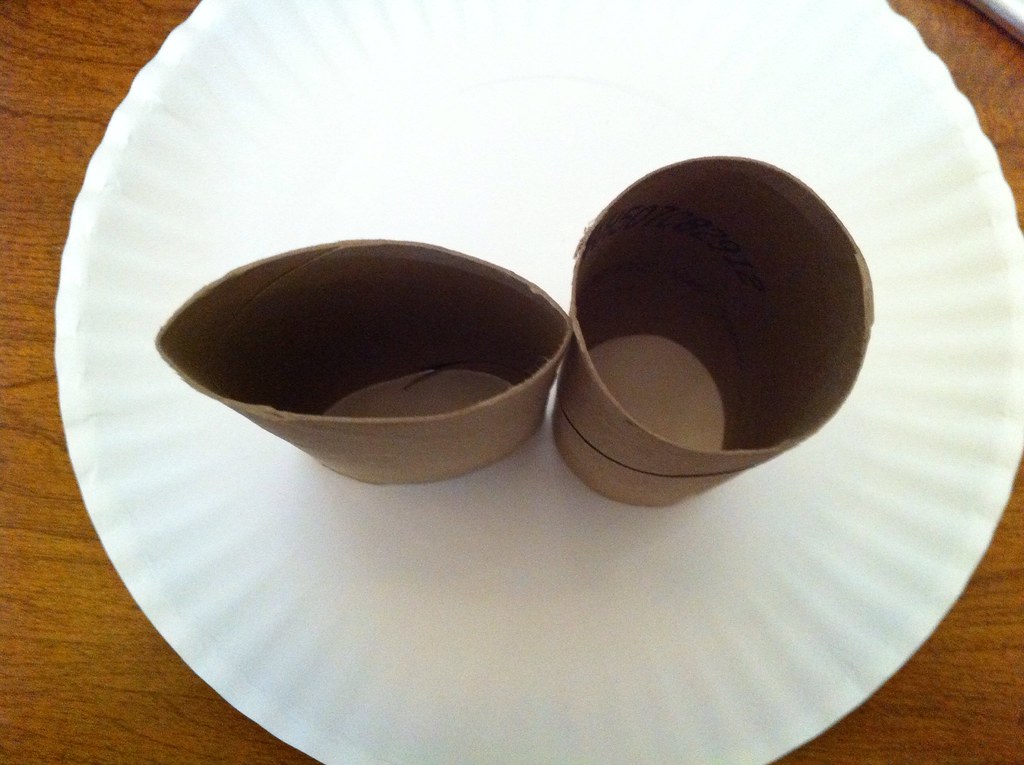
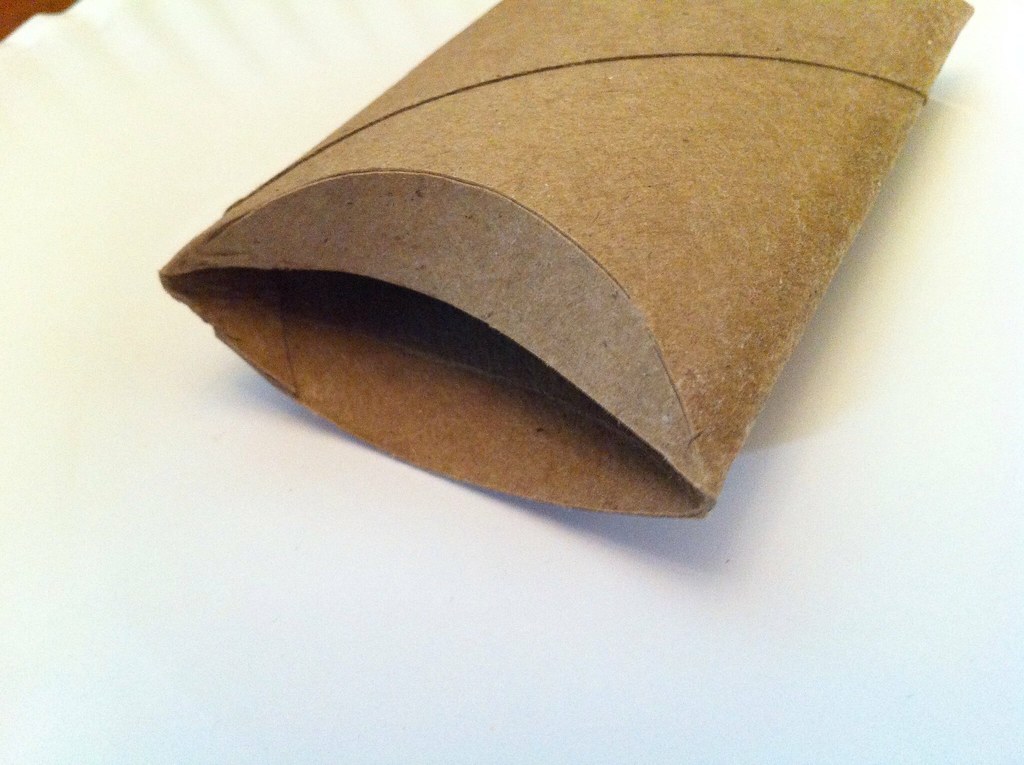
Now, squish your roll flat, but don't hard-crease the edges, so that it will pop back up partway.
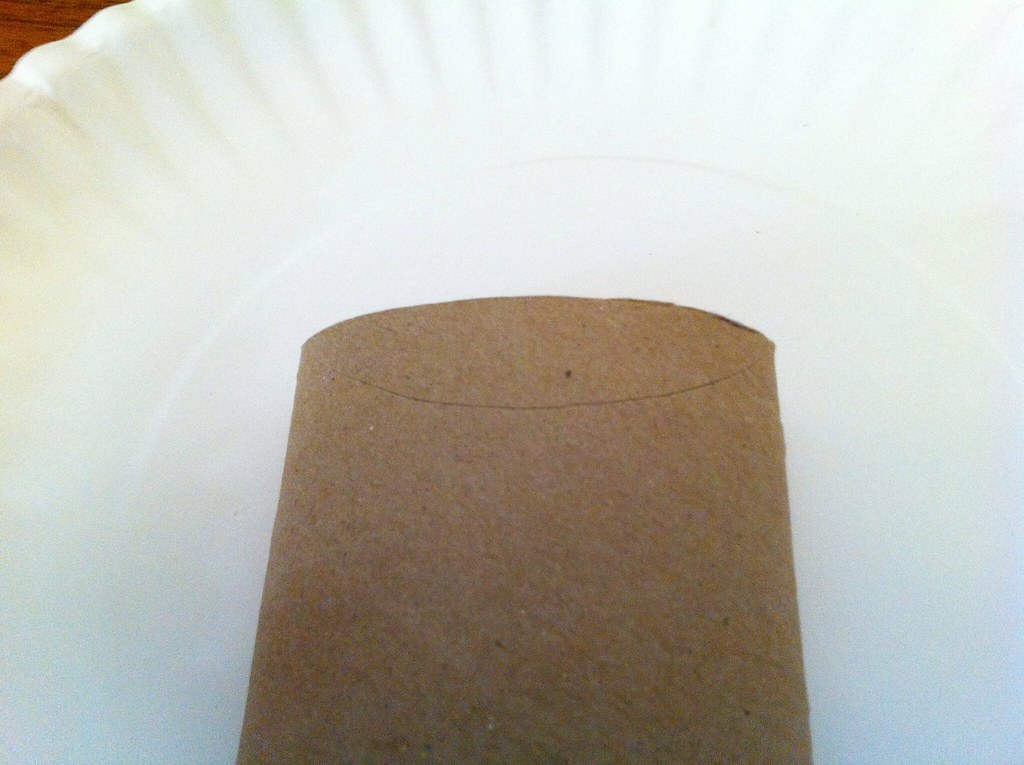
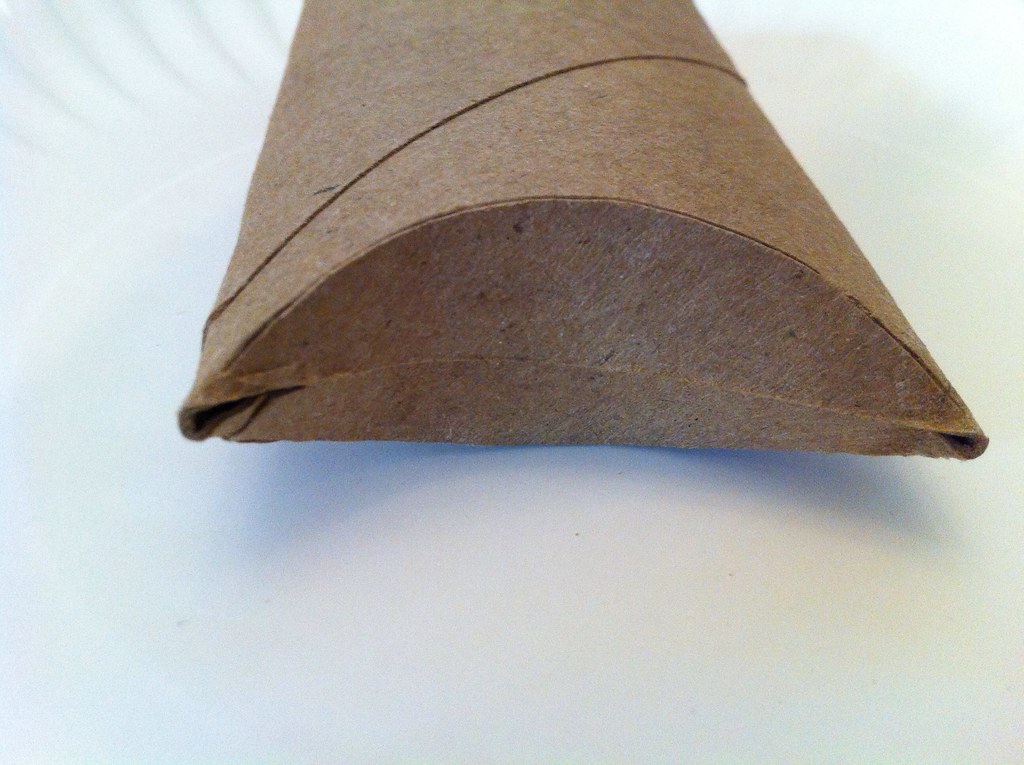
Line your circle guide at one end of the roll, so that it goes from corner to corner with the tube squished. Lightly score around the circle; keep in mind you aren't trying to cut anything, just make it easier to fold neatly.
Repeat at both ends, front and back.
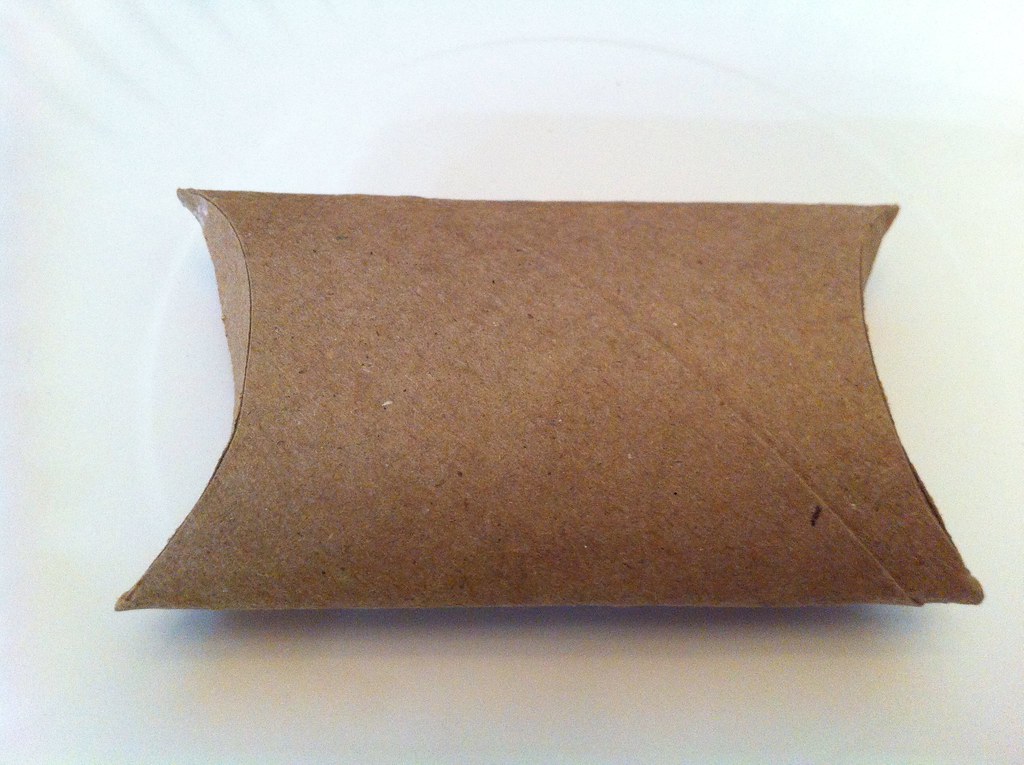
Bet you can't guess the next step, huh? Oh, wait, right... So, fold down the flap. If you have an 'ugly' side to the box, such as a glue strip, fold that side first, so that it will end up the bottom. Repeat for all four flaps, first 'front' then 'back'. You may need to squish and wiggle the little pointy corners a bit to get them lined up and shaped just right.
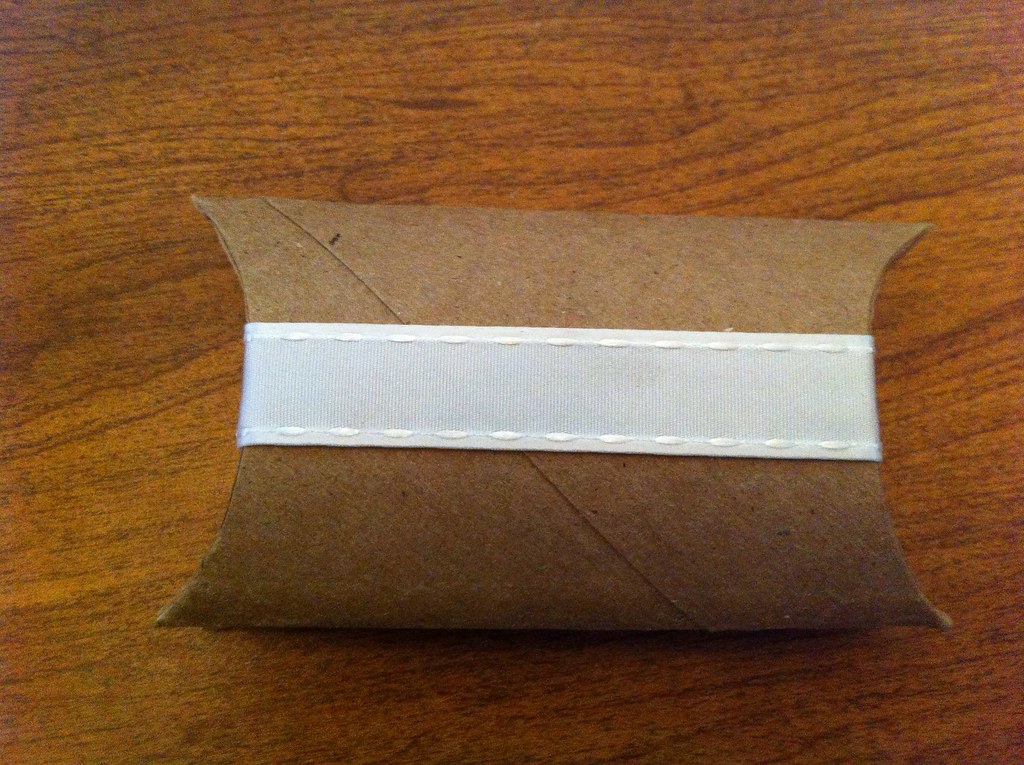
That's it! That's your basic pillow box. Decorate them, with markers or stamps or glitter.... wrap them with a little strip of wrapping paper (the huge benefit to this is you can just do it in the center, making the box complete with decoration reusable!), or just some ribbon, or a pretty bow... get creative!
Subscribe to:
Comments (Atom)
