Showing posts with label ribbon. Show all posts

Sunday, November 4, 2012

How-To: Easy Inexpensive Gift Plates

There are lots of easy, inexpensive treats available to make as Christmas gifts, like Super Simple No Fail Fudge.

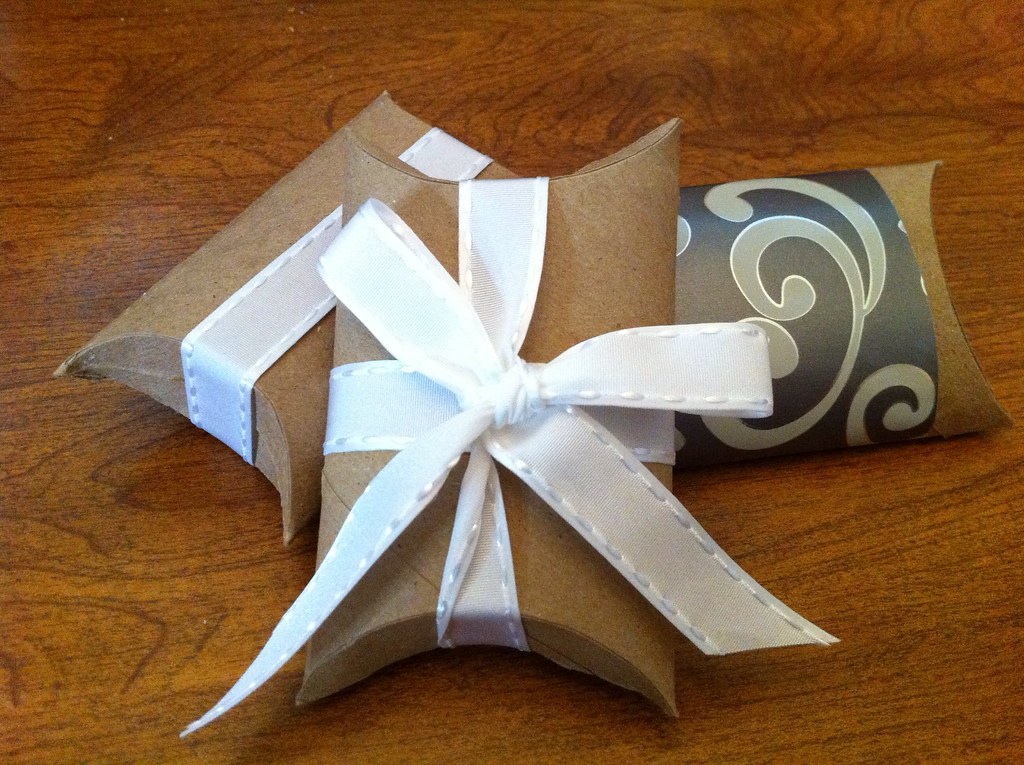
However, that leaves the question of how to package your goodies to give them away; if you have to buy a tin or plate for every gift, this is often the most expensive part of the gift.

Not anymore!

This brilliant idea costs pennies, and allows you to adjust for any gift-giving occasion, all with supplies you probably already have in the house.
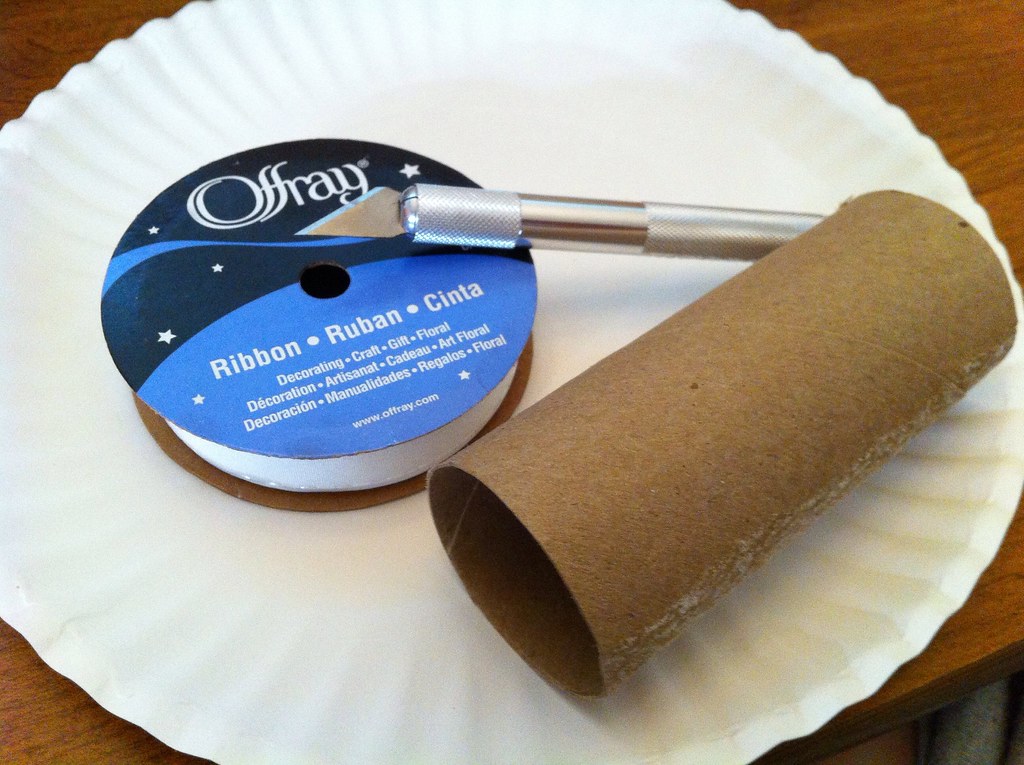
What You Will Need


1-3 paper plates (you can even get cute ones appropriate to the occasion, or decorate them yourself)
Approx. 2 feet of ribbon
Hole punch or Xacto knife

How To Assemble


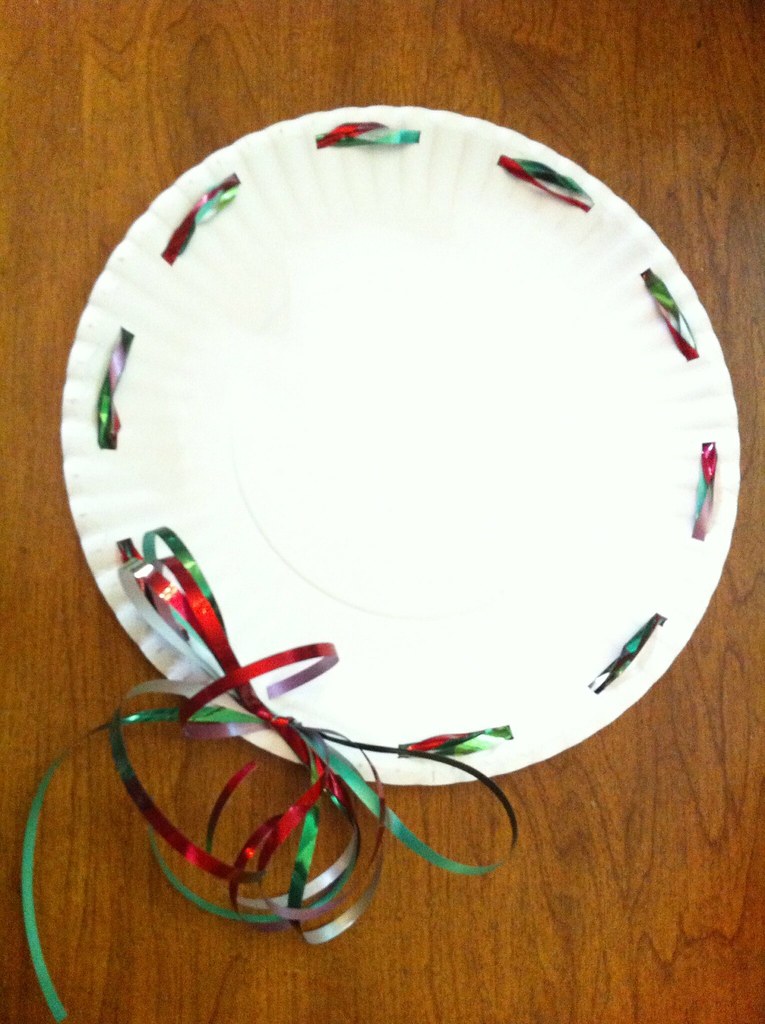
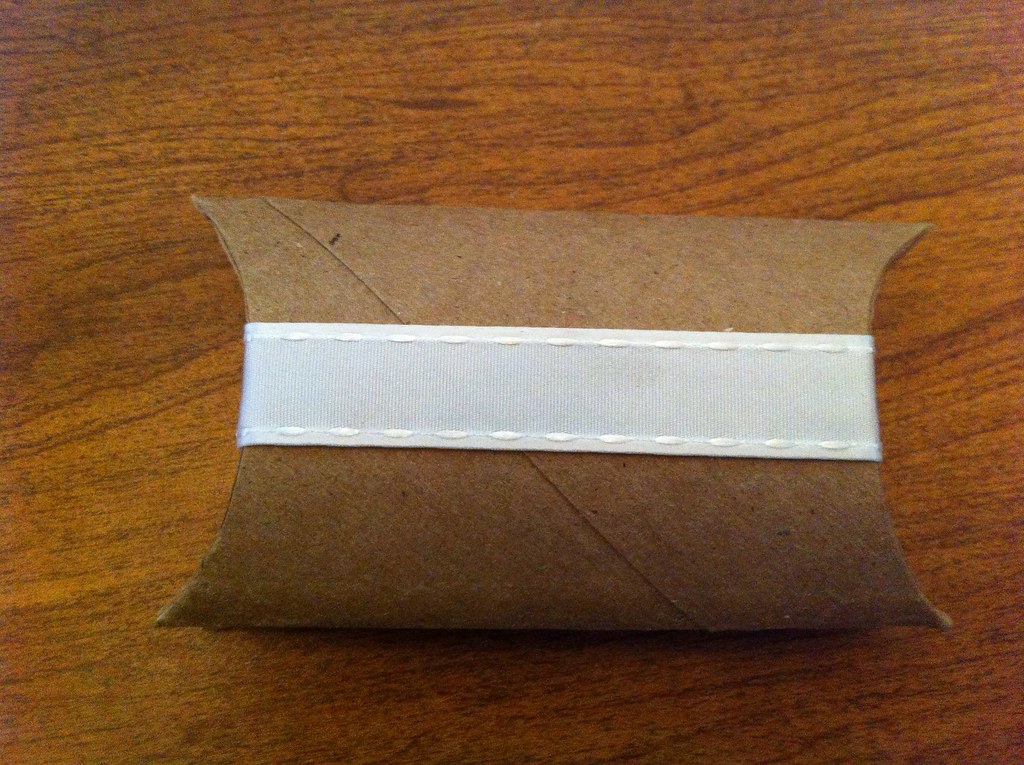
Punch or cut a holes a quarter inch or so from the edge of your plate, about an inch to an inch and a half apart.  On the plate I used, I skipped two 'ripples' in between each hole (the last one was on the next ripple to the first, but that was fine as the bow goes there.)  If you will be heavily loading the plate, use two or even three together and cut through all of them at the same time so that they line up properly.


String your ribbon through the holes, alternating top and bottom.  This will be easier if you pull enough through the first hole to make it all the way around and tie a bow at the end, instead of trying to pull it as you need it.


Tie a pretty bow, cut off excess ribbon, and you're done!  If your gift will need to travel, wrap with cellophane and use the same ribbon to tie it shut.


Friday, November 2, 2012

How-To: Upcycled Pillow Boxes


I got the inspiration for these adorable little boxes on, I admit, Pinterest. However, while it said what they were, they included no instructions and it took me a while to figure out exactly how to do it. So, I decided to take the 'figure out' time out of it for future readers.

Here, then, is a step-by-step tutorial to go from – yes – toilet paper rolls, upcycled to adorable pillow boxes for small gifts.  You could follow the same basic instructions with paper towel rolls, either for long boxes, or cut into pieces for 'square' boxes, or any size in between.


All you absolutely need is this:


However, I I found it was much easier, and the finished product much neater, to lightly score the tubes with an exacto knife.  After much searching around the house for 'the perfect circle', I found that the spool of ribbon I would be using to decorate the box with when it was finished, was the perfect size.


So, gather your materials.  Easy.

Now, squish your roll flat, but don't hard-crease the edges, so that it will pop back up partway.


Line your circle guide at one end of the roll, so that it goes from corner to corner with the tube squished.  Lightly score around the circle; keep in mind you aren't trying to cut anything, just make it easier to fold neatly.


Repeat at both ends, front and back.

Bet you can't guess the next step, huh?  Oh, wait, right...  So, fold down the flap.  If you have an 'ugly' side to the box, such as a glue strip, fold that side first, so that it will end up the bottom.  Repeat for all four flaps, first 'front' then 'back'.  You may need to squish and wiggle the little pointy corners a bit to get them lined up and shaped just right.


That's it!  That's your basic pillow box.  Decorate them, with markers or stamps or glitter....  wrap them with a little strip of wrapping paper (the huge benefit to this is you can just do it in the center, making the box complete with decoration reusable!), or just some ribbon, or a pretty bow...  get creative!


Saturday, October 27, 2012

How To: Civil War Handkerchief Dolls

My grandmother-in-law gave me one of these adorable little dolls a year or so ago, and this year has asked me to make some of them for her, for Christmas gifts. They are very adorable just on their own, and all the more so because of their fascinating history.

During the Civil War, there was little money to be found for food, let alone toys, so women made dolls for the children out of handkerchiefs. If the handkerchief had belonged to a loved one who had gone off to war, the doll helped to ease the pain of separation.

Also known as church dolls, they provided a quiet toy for a child's amusement, and were silent if dropped.

 Materials:

  • 1 handkerchief or thin napkin 
  • 1 generous handful of stuffing for the head 
  • 1 1/2' of thin satin ribbon (approx.) 
  • 1 paper towel 
  • tape
If you are using an 'old' handkerchief or napkin, be sure to clean them thoroughly and press them first.


Instructions:

Take the stuffing for the head and paper towel.  Roll the stuffing loosely in the paper towel, and tape into a 'tube', then fold down the sides and tape together, then tape down two of the corners a bit, to make a roughly head-shaped ball.  Although this is not strictly necessary, I found it almost impossible to get the head formed right without doing this first.


Arrange the ball near the top edge of the handkerchief, so that you can fold the remaining cloth over it completely with a half inch or so extra below the ball, so as to get tied down at the neck.

Carefully wrap the remaining handkerchief down around the ball, tugging gently as necessary to get it even, but do not pull it down too tight.

Holding the handkerchief in place with one hand, wrap the ribbon around the 'neck' under the ball carefully, in the middle of the ribbon, and tie securely in place.


Pull the short corners out straight, and tuck in the long side to just under the neck, forming the arm.


Using one side of the ribbon, wrap it around the arm piece, and tie in the back.  Be sure to snug it down tightly, then repeat on the other side.

Slip ribbons snugly under the arms to the front.


Tie ribbons securely in the front, then in a nice bow.  If necessary (as it is below), carefully tug the handkerchief to lay neatly between the ribbons.  You are finished!


Feel free to print out the card below if giving the doll as a gift, to share the enchanting history of these simple but ingenious dolls.