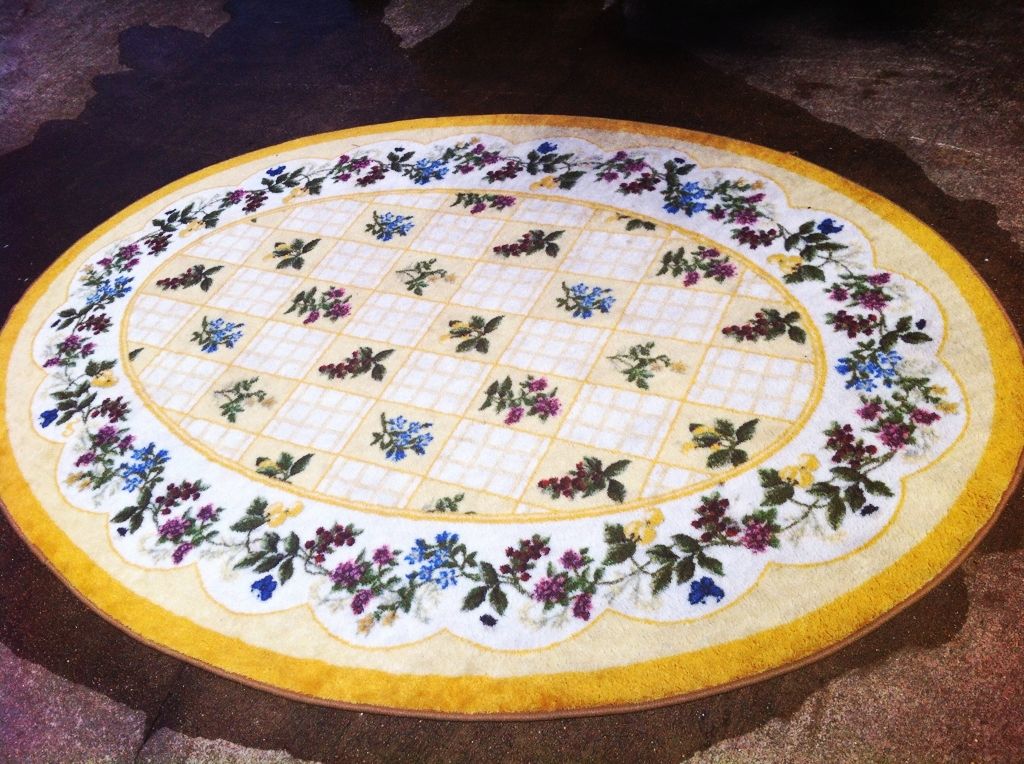
Ever had an area rug in a high-traffic area that just got really icky nasty dirty? Yeah, me too. Vacuuming obviously had no effect to being dingy and dirty and stinky... I even got a steam cleaner, and while that helped, it was only better in relation to how bad it had been... it was by no means even close to clean.
Clearly, I had to get drastic. Luckily, I knew what I had to do, and I shall share the plan of attack - and my results - with you. It really, honestly looks like a whole new rug, except for one little section that is still slightly greyish, but only slightly. (And if I would get down on my hands and knees and really attack it with a brush, I could probably get it all sparkling again, but I decided I'd rather live with a slight grey patch rather than the pain should I kneel and bend over for that long...)
Materials Needed
- 1 nasty, dirty rug
- garden hose with pressure nozzle (I have a great one I got at Home Depot for about $7, that has about ten different settings, including a pressure jet)
- clean area outside large enough for your rug (I pressure-hose cleaned out our open garage)
- 1-3 Tbs laundry detergent
- 1-3 Tbs washing soda (like baking soda, but stronger)
- 1/3-1 tsp dishwashing liquid (Dawn, etc.)
- 1/2-1 gallon container, preferably one that can be made to only pour a small amount at a time (I used a 1-gallon pitcher with the lid set to only expose only a single slit of the ice setting; a watering can with sprinkle head would work beautifully as well)
- stiff bristled broom or scrub brush (optional, helps if you have really nasty spots)
- equipment to dry the rug in some manner (hanging, vacuum suction, etc.)
Cleaning the Rug
Step One
Take the rug outside, obviously. Lay it out
upside down. (This is important, as it allows you to get the dirt that's compacted over the years at the bottom of the rug/fibers to get washed away.)
Get your hose and wet it down thoroughly, then go over it
slowly with the pressure nozzle, trying to cover every inch of it. I found it helpful to
slowly work the stream back and forth in about six inch waves, each moving up about the width of the stream of water across the rug, paying extra attention to visibly nasty spots. Did I mention you should do this slowly? You really want to pound the daylights out of every bit of it, this is mostly what gets the dirt out, and you want to get as much of it out as you can
before adding the cleaners, so that they can be more effective. It would take me two or three seconds to make each six inch pass.
Step Two
Mix the laundry detergent, washing soda, and dishwashing liquid in the container, and top off with hot water. Scale the amount you use depending on size and general nastiness of your rug.
Distribute evenly over your rug. I found it easiest to accomplish this by pouring a thin stream, then shaking the pitcher back and forth to make it 'sprinkle'.
Step Three
Go inside and get something cold to drink. No, seriously, this is a long process and you'll need the hydration! Also, you should let it soak for at least 15 minutes, or up to about an hour, before continuing.
Step Four
Repeat the pressure washing procedure from step one. Try to hit every single fiber for a second or two at least.
Step Five
Flip your rug over (this sounds much easier than it is, you will swear it has been transmuted from yarn to lead). It will look
much nastier than it did before you started. Don't panic! This is normal. It means your deep cleaning is working and all the nasty that was compacted at the base of the fibers has released.
Repeat the pressure washing procedure
again (yes, again).
This is when you will see the drastic, dramatic change!
If your rug is really nasty, or has stubborn spots like mine, you may need to repeat steps two to five on the front side. Use a stiff bristled broom or scrub brush on really stubborn stains after applying the cleaning solution.
 |
| You can see the still-dingy section on the top side in this image, that I went back and cleaned a second time. |
Step Six
Dry your rug. This is not as simple as laying it out in the sun! All that will accomplish is a soured and possibly moldy rug – there is simply too much water soaked into the fibers. I made that mistake and ended up having to re-wash the rug; after a day and a half, I lifted it off the ground, and water was still pouring out, literally.
I had a steam cleaner at hand, and after a second, de-souring wash, I used it to suction up as much water as possible with 3-4 passes from different directions, then draped it over a cooler and outside table in the sun to finish drying.
After that, within about twelve hours it was still damp, but dry enough that we brought it inside and put a fan on it to finish drying, as it was no worse than after steam cleaning.
Enjoy your rug's second life!
 |
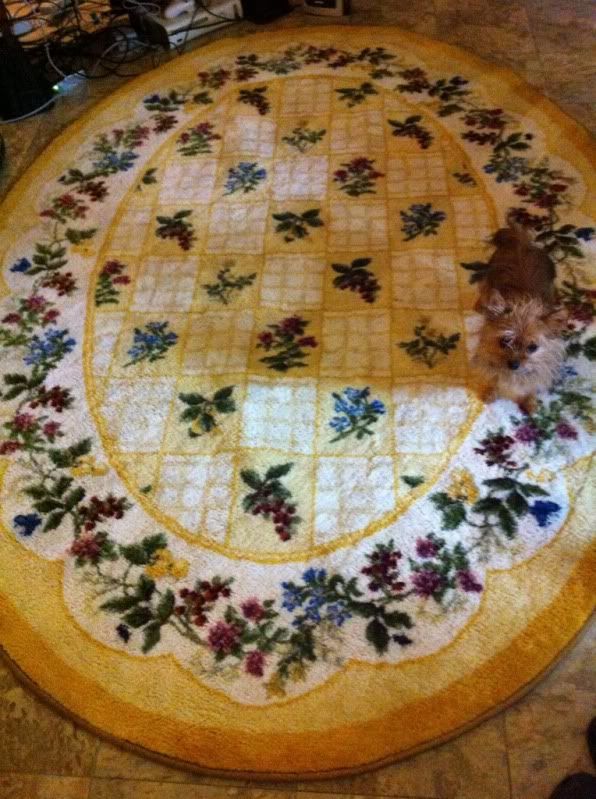
| Our Yorkie-Pom, Nyxie, was quite confused by the newly cleaned carpet that no longer smelled 'right'! |

