During the Civil War, there was little money to be found for food, let alone toys, so women made dolls for the children out of handkerchiefs. If the handkerchief had belonged to a loved one who had gone off to war, the doll helped to ease the pain of separation.
Also known as church dolls, they provided a quiet toy for a child's amusement, and were silent if dropped.
Materials:
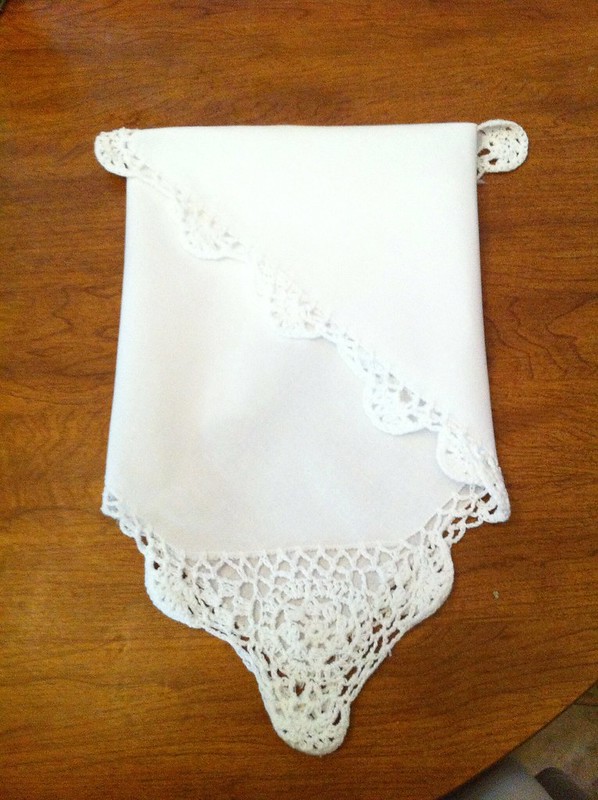
- 1 handkerchief or thin napkin
- 1 generous handful of stuffing for the head
- 1 1/2' of thin satin ribbon (approx.)
- 1 paper towel
- tape

Instructions:
Take the stuffing for the head and paper towel. Roll the stuffing loosely in the paper towel, and tape into a 'tube', then fold down the sides and tape together, then tape down two of the corners a bit, to make a roughly head-shaped ball. Although this is not strictly necessary, I found it almost impossible to get the head formed right without doing this first.
Arrange the ball near the top edge of the handkerchief, so that you can fold the remaining cloth over it completely with a half inch or so extra below the ball, so as to get tied down at the neck.
Carefully wrap the remaining handkerchief down around the ball, tugging gently as necessary to get it even, but do not pull it down too tight.
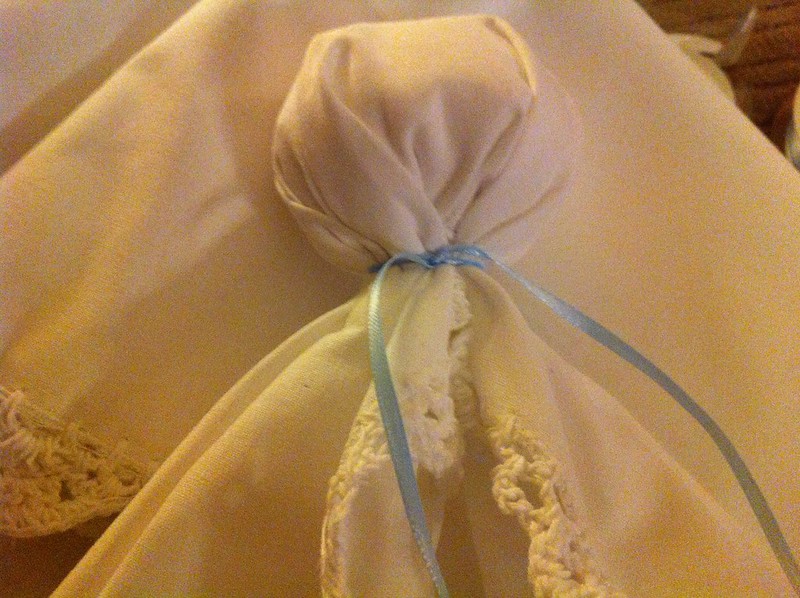
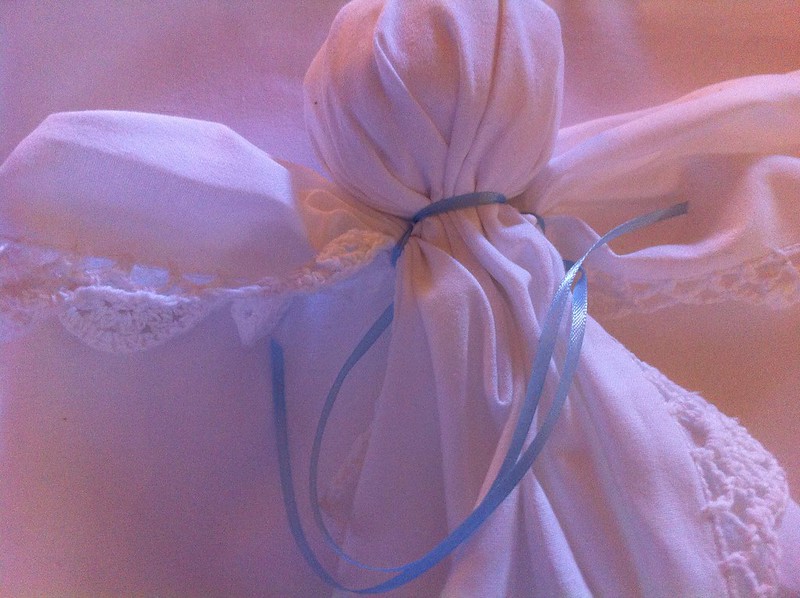
Holding the handkerchief in place with one hand, wrap the ribbon around the 'neck' under the ball carefully, in the middle of the ribbon, and tie securely in place.
Pull the short corners out straight, and tuck in the long side to just under the neck, forming the arm.

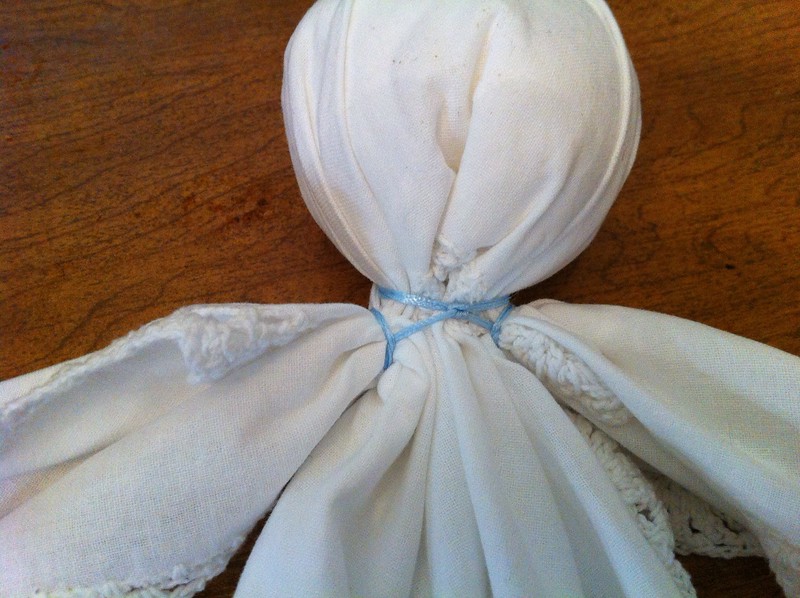
Using one side of the ribbon, wrap it around the arm piece, and tie in the back. Be sure to snug it down tightly, then repeat on the other side.
Slip ribbons snugly under the arms to the front.
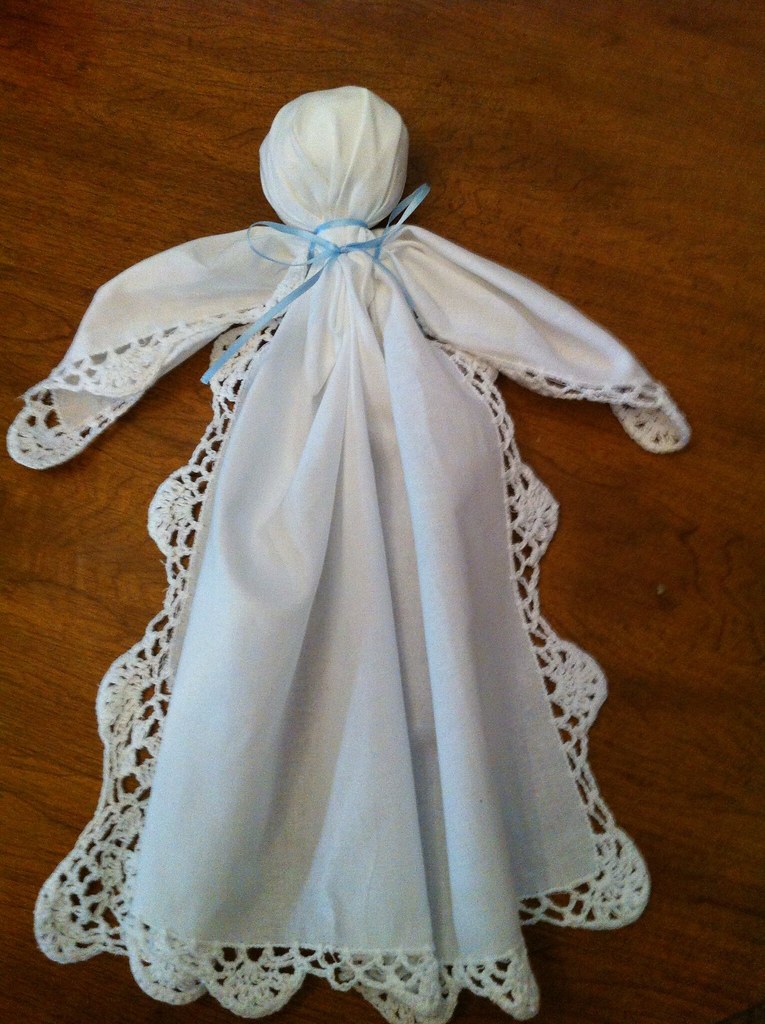
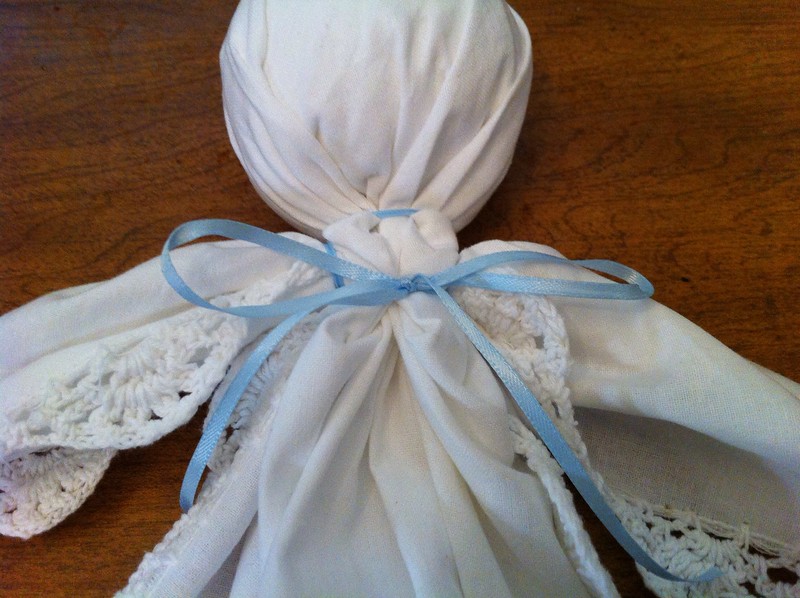
Tie ribbons securely in the front, then in a nice bow. If necessary (as it is below), carefully tug the handkerchief to lay neatly between the ribbons. You are finished!
Feel free to print out the card below if giving the doll as a gift, to share the enchanting history of these simple but ingenious dolls.

Love this!!!
ReplyDeleteLove these for Operation Christmas child shoeboxes
ReplyDeleteThank you for this pattern & the lovely description. I'm making these for kids in homeless shelters and donating them. So nice to know that "old" solutions can fit today's situations. Keep up the good work.
ReplyDelete